How to Choose the Right Fiber Optic Patch Panel Setup
Choosing the right network setup is not always simple, even for people who work with cables and racks every day. A small mistake in planning can create trouble later, and it often shows up when the system grows.
The selection of a fiber optic patch panel is one such area where careful thought is needed. It is not only about ports or size, but also about how the system will behave over time. This blog shares a simple view, based on real needs and practical details.
Understanding the Basic Role
A fiber optic patch panel works like a central point where all fiber connections meet. It keeps cables organized and helps in easy changes when required.
Many people think it is just a box with ports, but it is more than that.
- It manages incoming and outgoing fiber cables
- It reduces cable stress and bending
- It helps in easy testing and troubleshooting
- It keeps the network clean and readable
When chosen correctly, it supports both current and future network needs without much effort.
Looking at Network Requirements First
Before selecting any setup, it is better to understand what the network actually needs. Many setups fail not because of poor equipment, but because of wrong planning.
- Check the total number of connections needed
- Think about future expansion, not just current use
- Consider the type of environment, such as a data center or an office
- Look at the speed requirements, such as 40G or 100G
A fiber optic patch panel should match these needs without forcing adjustments later.
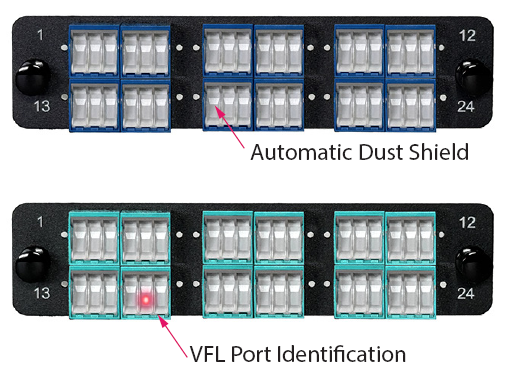
Why High Density Matters
Modern networks often need more connections in less space. This is where high-density panels come into use.
A compact design helps save rack space, which is always limited.
- More ports in a single unit
- Better use of rack space
- Cleaner cable management
- Easier maintenance access
For example, a 1U panel that supports many ports can reduce clutter and improve airflow inside racks.
Key Features to Check
When comparing options, some features should not be ignored. These details may look small at first, but they make daily work easier.
- Front and rear cable management trays
- Clear labeling options for easy identification
- Compatibility with standard 19-inch racks
- Strong build quality with stable mounting
A good fiber optic patch panel setup often includes all these features without making the design complicated.
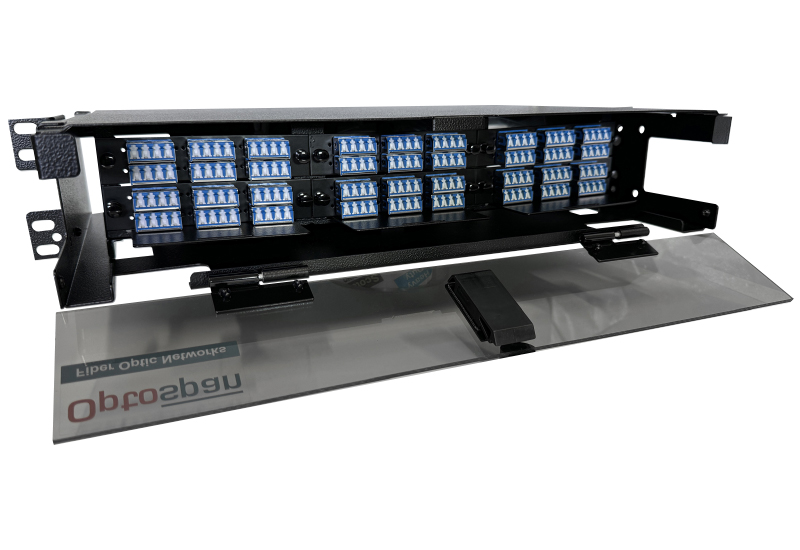
Understanding the 120 Port Configuration
The 120 Port Fiber Optic Patch Panel 1U Multimode OM4 MTP-LC is designed for high-performance environments. It may look complex at first, but its structure is quite logical.
Feature
Description
Total Ports
120 LC ports (60 duplex)
Rear Connectivity
10 MTP Elite connectors
Cable Type
Multimode OM4
Rack Size
1U standard rack
Depth
7-inch compact design
Polarity
Configured for Polarity A
This type of setup fits well in data centers where space and speed both matter.
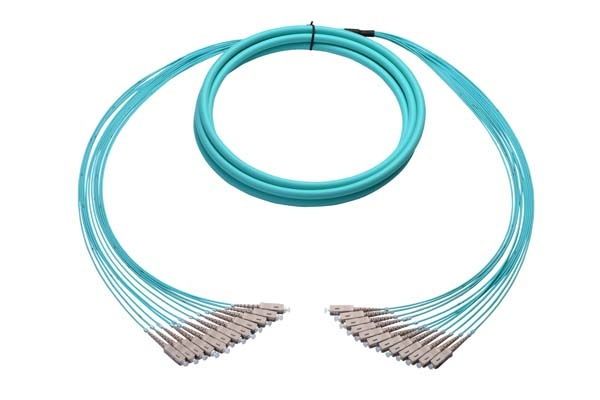
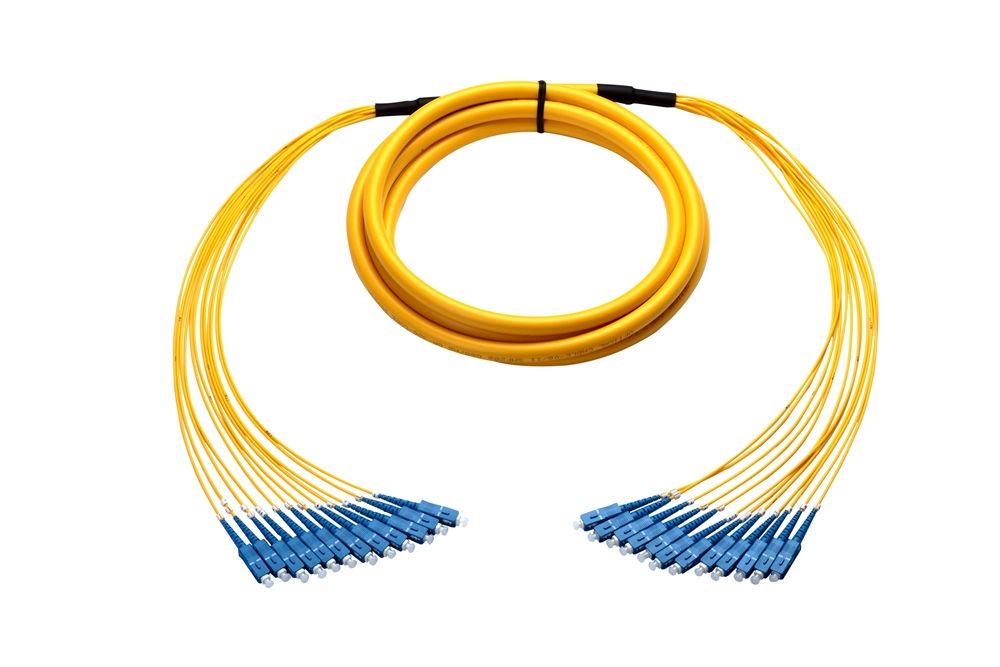
Role of MTP and LC Connections
Understanding connectors helps in making better decisions. Many setups today use both MTP and LC connectors.
- MTP connectors handle multiple fibers in one interface
- LC connectors are used for individual connections
- Combined use allows flexibility and high speed
- It supports structured cabling systems
This mix is often used in 40G and 100G networks, where performance must stay stable.
Importance of Cable Management
Cable management is sometimes ignored, but it affects long-term performance.
Without proper management, cables can get damaged or hard to trace.
- Front trays help in organizing patch cords
- Rear trays manage backbone cables
- Labels reduce confusion during maintenance
- Clean layout reduces human error
A well-managed fiber optic patch panel saves time during upgrades or repairs.
Flexibility and Expansion
No network stays the same for long. Growth is natural, and the setup should support it.
- Expandable port capacity helps in scaling
- The modular cassette design allows easy changes
- Supports different configurations if needed
- Reduces the need for complete replacement
A flexible design often costs less over time, even if the initial setup looks detailed.
About SanSpot and Its Approach
SanSpot works with a clear idea of building practical fiber solutions that match real network needs. The focus is on quality components and reliable performance, without making systems too complex.
- Offers high-density patch panels and cable assemblies
- Designs products with upgraded MTP components
- Supports custom network designs with flexible options
- Provides technical support through experienced engineers
The products are tested carefully, both visually and optically, which helps maintain consistent quality across deployments.
Matching the Setup with Real Use
It is always better to think about how the panel will be used daily, not just how it looks in specification sheets.
- Will technicians access it often
- Is there enough space for cable routing
- Can labels be read easily
- Will it handle future upgrades without stress
A fiber optic patch panel should feel simple to work with, even if the technology behind it is advanced.
Conclusion
Choosing the right setup takes a bit of patience and clear thinking. It is not about selecting the biggest or most complex option, but about finding what fits the network in a steady way. A well-chosen fiber optic patch panel keeps things organized, supports growth, and reduces daily trouble. Over time, this quiet stability becomes more important than any single feature. When planning is done with care, the system feels balanced, and that balance stays for years without much effort.